
 Likes:
 I'm going with two small screws...old style.Originally Posted by devlin


 In the drops


I'm going with two small screws...old style.
So this is how the world works, all energy flows according to the whims of the great magnet." - HST
OTF
I've used JB Weld and it's been holding up for over a year (copper headbadge over the painted HT). I expect this to last the lifetime of the bike really.
Newb
For me the problem with using Epoxy was that the epoxy was bonded to the clear/paint and not the metal. The epoxy didn't fail, the paint bond failed. At least that's what I think happened. But the paint job on that bike wasn't the greatest... I was spraying at or below the minimum temperature.
JB weld bonded directly to the metal has been holding up well.
Rolls with style


Do a search on Photoetching (apologies if this has been mentioned). There are different techniques quite common in jewelry/adornment applications that can be done in a relatively inexpensive fashion using very simple methods. The key is the quality/tightness of your resist. Various techniques I've used in the past as a goldsmith/silver smith even included using nail polish as a resist for the acid bath and depending on how long you leave it in the etch bath, will determine your depth of the etch. Copper and silver then can be treated with different solutions to give you patina's. A great book for any library is Oppi Untracht's "Jewelry - Concepts and Technology". There are additional techniques for chasing, engraving etc. found within. At 840 pages, it's definitely one of my bibles.
Newb
That's use extensively for homebrewing circuit boards. You can print the design using an inkjet printer and transfer it to the copper. How-To: Etch a single sided PCB - Hack a Day
Rolls with style
Yes this is a method I was shown way back while in school using mylar and a photocopier where the image (the resist) was photocopied as an inverse on a piece of mylar then transferred by heating the copper with a hot plate with the mylar photocopied image face down on the copper and rolled into place. This then transferred the image directly to the copper or silver (Copper is generally a lot easier to manipulate and work with). The trick was getting the correct balance of heat to get the image to properly transfer. Took some practice but when you get good at it, the image transfer is very crisp. You could easily produce multiples of a head tube badge using this method. Another method was a using a set of roller dies where you have the same inverse of an image etched or sweat soldered (flat construction) on a piece of nickel or harder material than your material you would use for your head badge in this case. With the copper annealed, you roll the two through the rollers pressing the image into the annealed material (in this case perhaps copper) creating a positive transfer. Depending on how well you made your die, you can repeat this process many times.
Newb
Like a penny press!

No Chain
Mind if I jump in here Luke?
44 and/ or roburrito:
Whats the best acid to use? Muriatic is what is always mentioned for copper, is it the same for aluminum?
VSalonista (docendo discimus)
For copper ammonium persulphate is preferred. Be warned that the copper solution obtained is a prescribed pollutant in many countries, disposal is not easy. One way around this is to add aluminium shavings to the spent solution to recover the copper as solid.
To etch aluminium, I use copper chloride: dissolve roughly equal quantities of copper sulphate and ordinary salt in warm water. I accelerate the reaction with a constant current source but it will work without. To get good results you must remove the oxide layer on the aluminium before starting.
In the drops
Rock on Mr. Matthews...
;)
So this is how the world works, all energy flows according to the whims of the great magnet." - HST
Rolls with style
I've used products from Z*ACRYL which are actually used in the process for making plates in the printmaking process which remove a lot of the danger / problems with disposal with other products. Actually, digging through my archives... I have a lot of the course work photocopies that were handed out to me by my professor/s way back when I should copy and turn into PDF's for everyone here. There is still a lot of pertinent information found within and covers a lot of different methodologies. Give me some time and I'll see what I can do. The etching processes and resists required for Nickel / Nickel Alloys, pewter, tin, mild steels, stainless steel, silver, copper, gold titanium, and aluminum are all covered.
Breaking Away
I just use a bit of brass and some etchant.
Suzy's Blog: A brass headbadge
It was surprisingly easy.
Suzy Jackson
Vanity blog: http://suzyj.blogspot.com
Little fish bicycles website: http://www.littlefishbicycles.com
Rolls with style
Here is the PDF I spoke of earlier. Methodology is relevant but some of the products may not be as well as some of the suppliers. Good info to the cause either way.
Newb
Administrator

That ^^ is beautiful atmo.
I used to make mine, but then decided to have them produced.
Constructeur!! - a set on Flickr
Administrator
Oops - I didn't realize this was an older thread!
Newb
hi Luke,
Jen Green will be sharing her knowledge and methods of head badge construction through a lecture and demonstration, plus there will be hands on badge making at this workshop from Metal Guru on Saturday April 20th 2013.
here are the details:
Head Badge Revolution. « Metal Guru
~Carl
In the drops
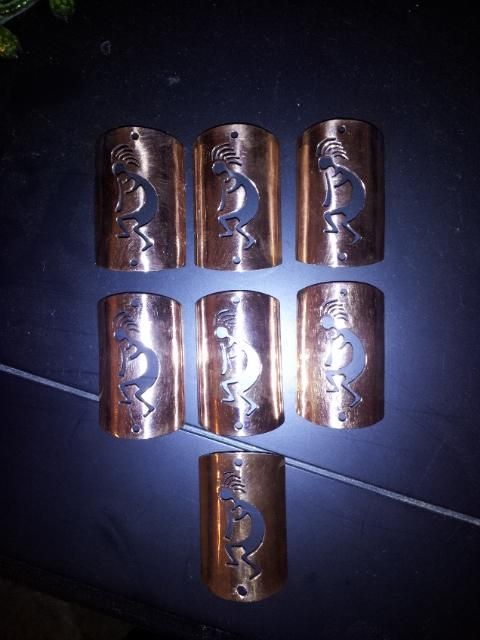
I had these made when i was down in Chile a couple weeks ago. Solid copper. Handmade for about 12 bucks a piece.
OTF
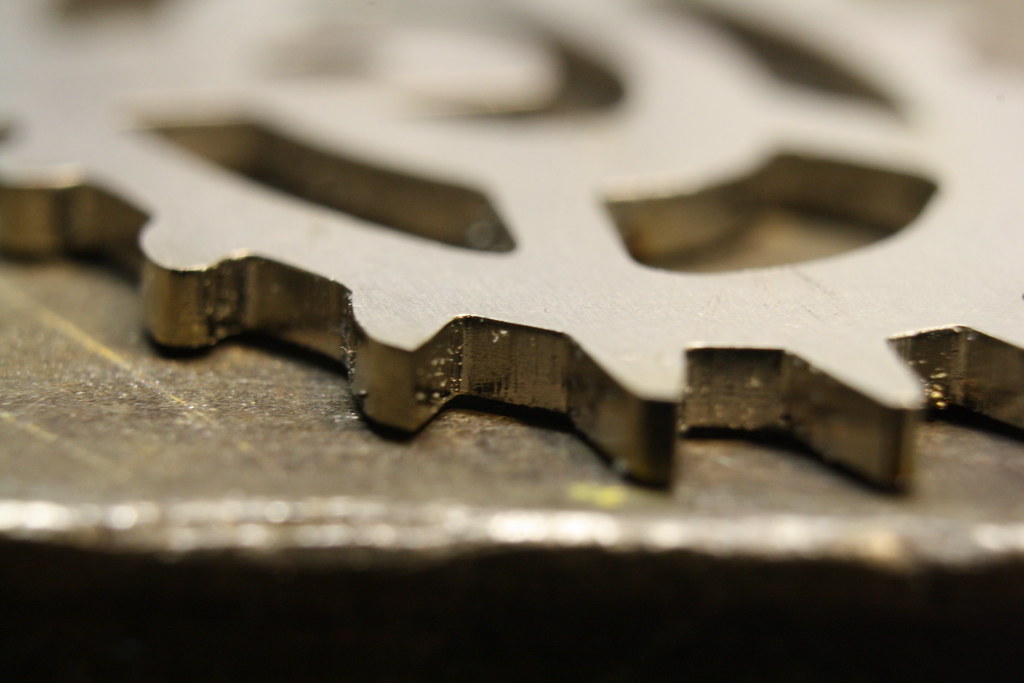
Just got a few samples from the laser cutter and so far so good. I was worried the lasered edge wouldn't accept the silver, but it worked fine.
Paceline
I know its an old thread, but I thought it would make sense to keep all the info re headbadges together.
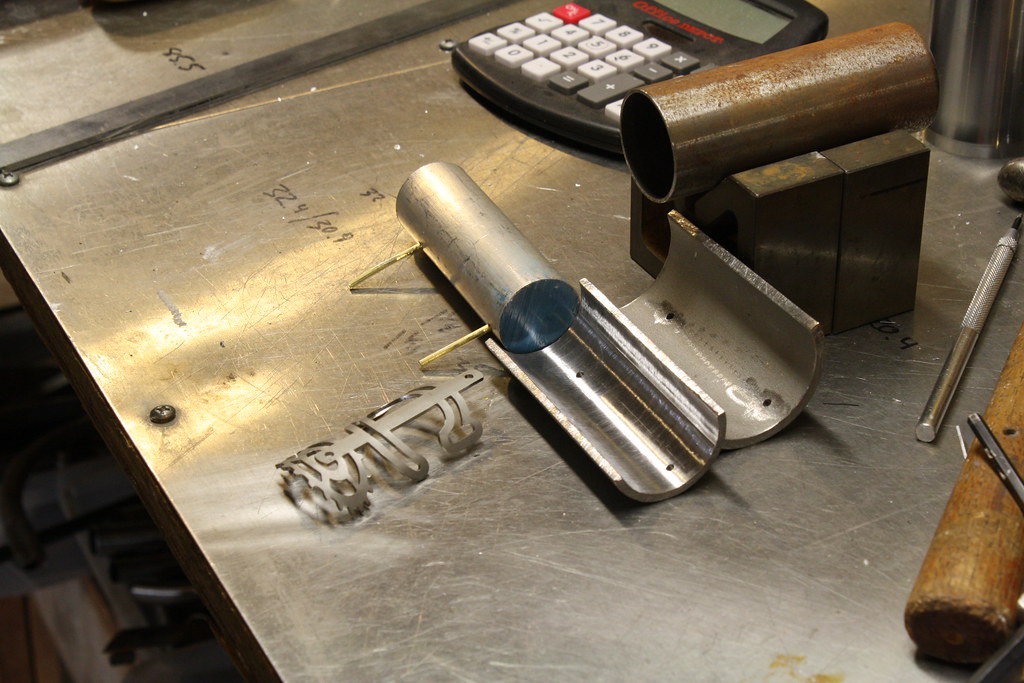
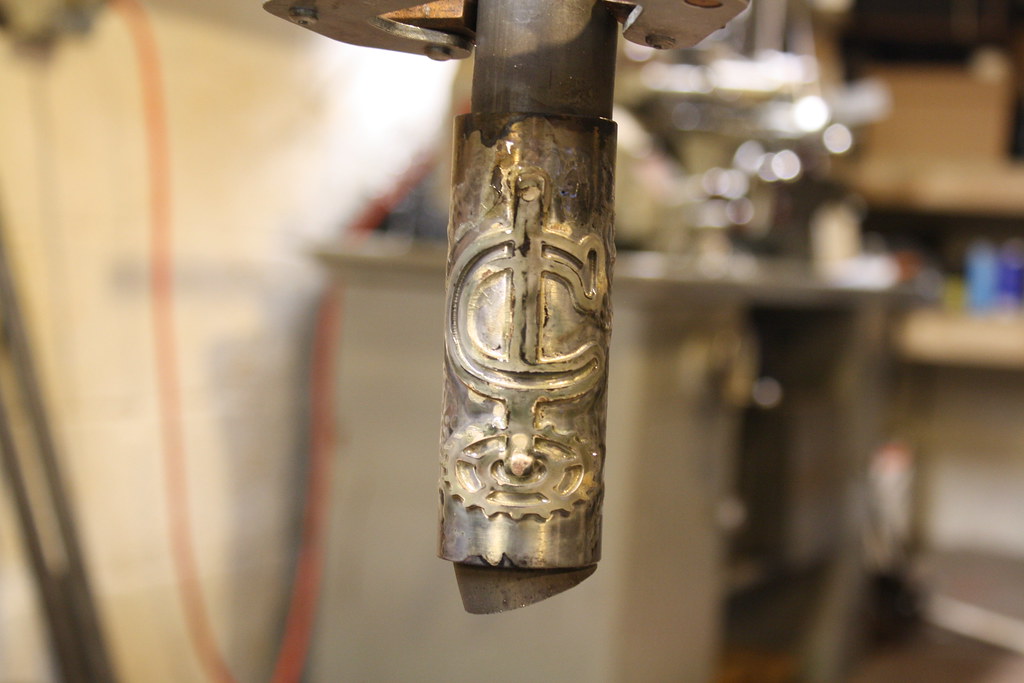
There's a couple of examples where people have used stainless steel cut-outs (eg Kumo and Clockwork in this thread) and (presumably?) silver brazed them onto the head tube.
If you then get the frame painted afterwards, presumably you can just sand the paint off the logo / head badge? If its a relatively simple design then it should be easy to get good definition of the logo, right?
This seems a relatively straight forward way of getting a very clean / precise finish together with an excellent method of attaching the logo / badge.
Anything I'm missing? Is this what most people do in this situation?
Posting Permissions

 Reply With Quote
Bookmarks