
Originally Posted by
RspinnaKing

So, here are some questions regarding chainstay "dimpling" versus "flattening" to improve clearance:
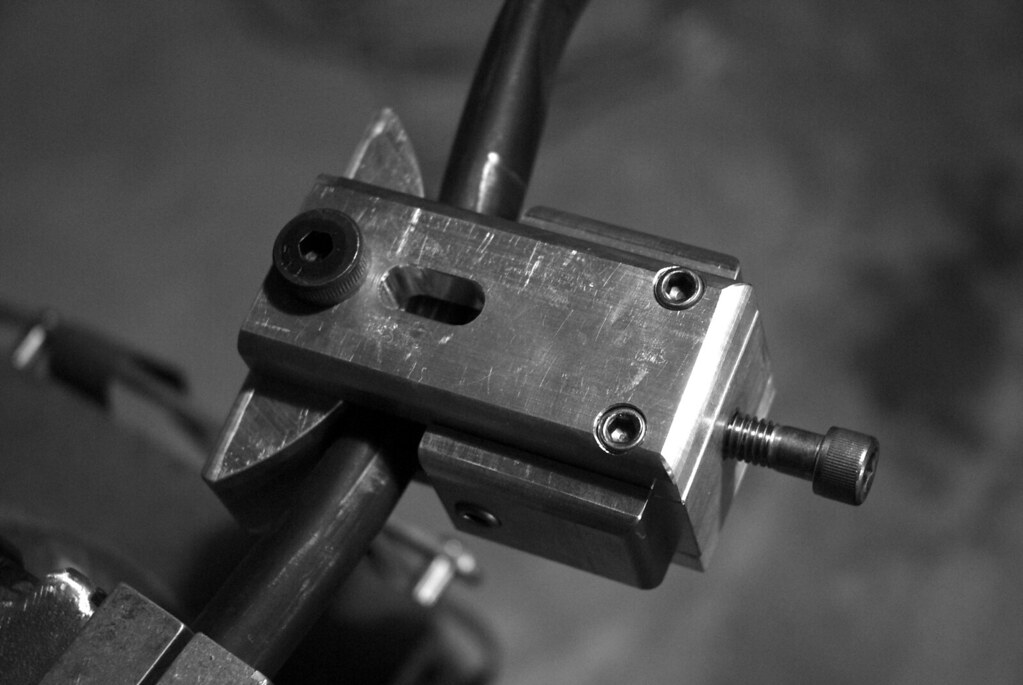
As Mr. Stewart pointed out and Mr. Garro illustrated with photos of his setup, what matters is not the "depth of the dimple" but the "change in the stay's width." That being the case, why would one want to use a "dimpling" setup like the chain link employed by the OP rather than a broader implement that presses across the entire height of the stay like Mr. Garro's? I seem to see much more "dimpling" on production bikes, sometimes so extreme that the outside and inside dimples for chainring and tire clearance must nearly touch inside the tube.
It seems to me that in a situation where the manipulations are extreme and especially when they're taking place on both sides of the tube, a "dimpling" setup may be capable of creating more clearance without creases or cracks since the tube has a figure-eight cross-section rather than a flattened oval? However, might it be the case that the actual clearance created by these extreme dimples ("the change in the stay's width") is no greater than what would be possible with a "flattening" setup used carefully and precisely?
Let's hear some thoughts, opinions, experiences on the pros and cons of "dimpling" versus "flattening".


 Likes:


 Reply With Quote


Bookmarks