
 Likes:

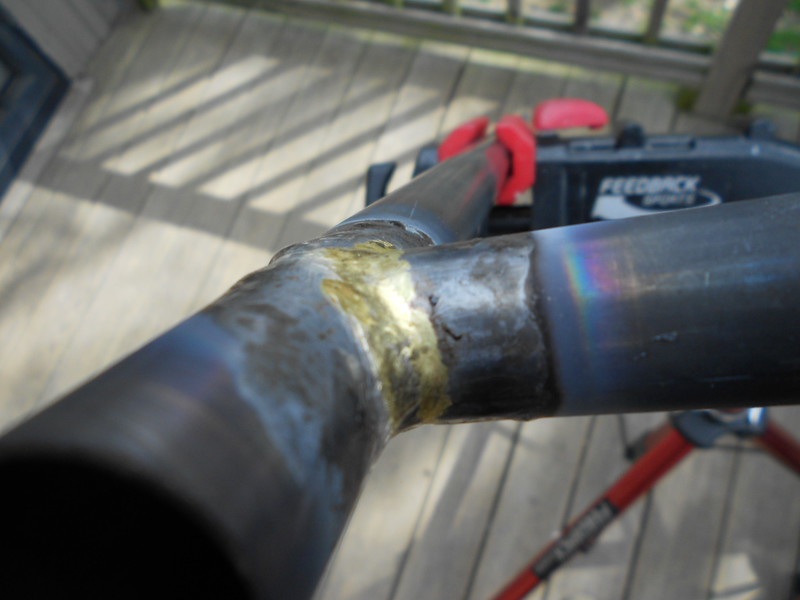
Am I doing this right? I'm using straight gauge 4130, 1mm wall. The main tube failed just after the edge of the fillet.


 Motordoper


Am I doing this right? I'm using straight gauge 4130, 1mm wall. The main tube failed just after the edge of the fillet.
In the drops
Im not a pro so I wont give you any feedback on your work, but I will give you my thought on practice tubing. When I was first starting to practice I found that anything with that kind of wall thickness took a while to heat up and took a while to cool down, and often my fillets did not come out well. On practice pieces on .8 it would react to the torch much faster, and I could quickly see my errors, after just a few practice pieces on thinner stuff I could then go back to the thicker stuff and get much better results because I better understood what my torch was doing.
So im not saying to practice on thinner wall, but I am suggesting trying a couple on thinner wall for the experience
Sam Markovich
Slide to the back


Todd,
One thing that I'll add, while practicing the torch side of the fillet brazing equation is important, filing and sanding the fillets smooth is equally important. Laying a nice fillet isn't that difficult. Filing and sanding fillets to aesthetically pleasing radii without undercutting the tubes is where the real skill and learning curve lies. Keep up the practicing and don't focus solely on the torch skills.
Newb
Hi Todd,
What Curt said is important because as you file fillets, you'll realize what you can let go and what will need to be smoothed or wetted out with the torch. I also recommend practicing on .035" stock at first. It's thick but not too thick. Your joint looks a bit cold. Could probably have used some more flux too. And read the advice in this post:
http://www.velocipedesalon.com/forum...1-a-31373.html
And these videos can't hurt either:
Good luck!
Brian
Motordoper
I've watched those videos but they don't show a lot of close up work. I've scoured youtube, etc., but most of the videos I've found you can't see they detail of what's happening with the joint.
In the drops
I watched those videos and learned I've been holding the torch way to far away. I'm used to silver I guess, Ritchey is right up in there with that thing!
As for much else, I like to just practice, practice, practice. Try different things and pay attention to what works and what doesn't, you will have some ah-hah moments. I try to NOT read as much as I can. The pioneers had to figure this stuff out on there own by trial and error, I kinda like that idea too! I'm not saying you have to start completely from scratch, but just keep working it and watching how the metal behaves.
Motordoper
I used a lot more flux and got much smoother edges before filing/sanding. At first I was practicing with the information to use flux only where you want the bronze to be - this is clearly not the case. Directing the flame ensured it only went near where I wanted it.Originally Posted by Brian Chapman

Rolls with style
Just an update for this thread- seemed like as good a place for any for this.
At Bespoked I was given a sample of Sif Bronze (not sure if it's 101 or #1) from one of the UK distributors, and I told him I'd post up a side by side. I generally use RBCuZn-B, first Gas Flux Co4, now Aufhauser.
Here is that side by side:
Sif:
RBCuZn-B:
Both frames have the same tubes mitered to the same angles, and are brazed with GF Type B and in-line flux.
Wet out flash happened a little more quickly with the Sif, but both were generally comparable. I am looking forward to trying a sample on lugs to see if the wet out translates to easier pull through. For fillets I like both- though I still maintain rod consistency between batches are still more important then small differences in flow rate.
Paceline
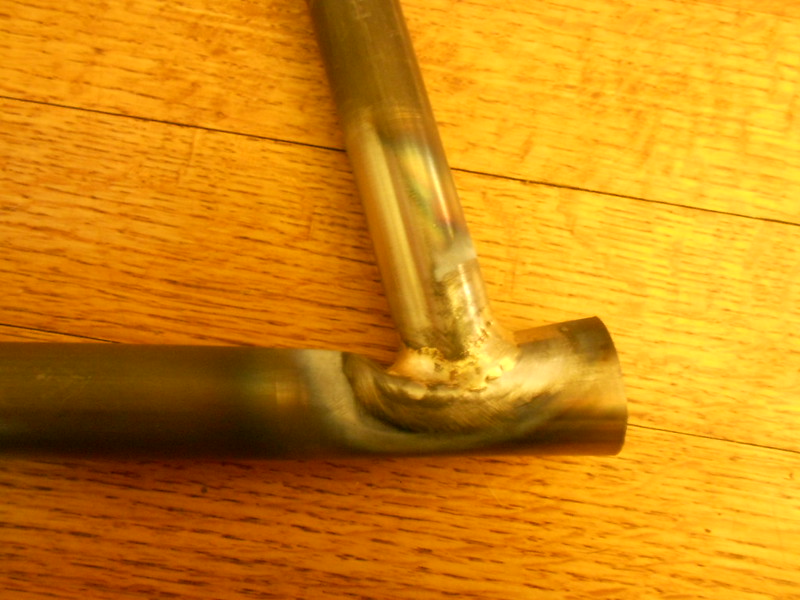
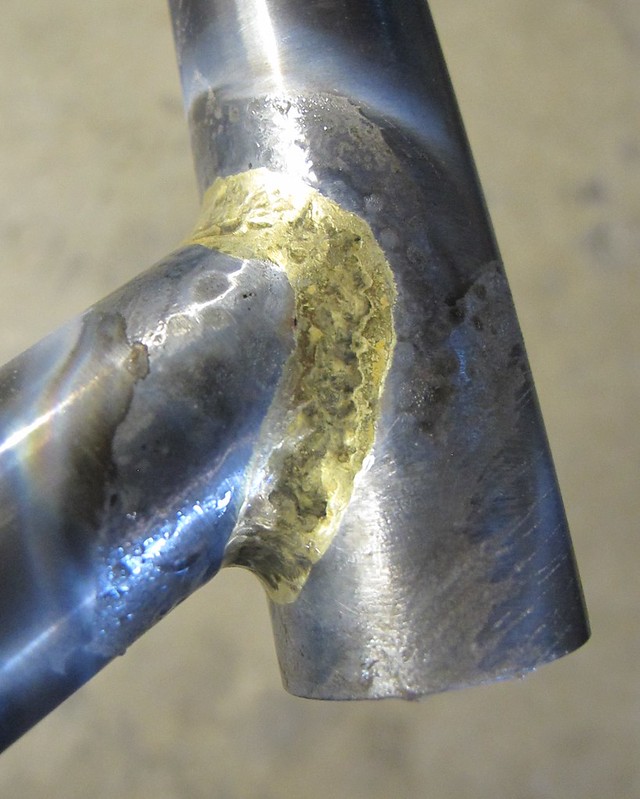
Couple of shots of my first fillet braze, using sifbronze filler and flux; some old scrap tubes (the practice bottom bracket is approx 1.5mm and the seat tube is approx 0.8mm)
Any general comments are welcome (and please dont hold back!) but 2 specific points I'd like some feedback on-
1) Is the fillet big enough? I've seen a couple of comments saying the fillet should 3x the tube thickness, is anything more than that purely for asethetics? Is there a minimum "safe" size?
2) The holes - I'm guessing this is contamination where I didnt clean the tubes properly first?
thanks
https://picasaweb.google.com/mayan42...eat=directlink
OTF
I'm never sure how to respond to these threads asking for advice on how to brass fillet braze (or do any kind of braze) because a few pointers aren't nearly enough. In your case mayan42 you made so many basic mistakes it is hard to know where to begin. Really if one wants to be good at brazing they should go learn from an expert. Because a number of factors are in play at the same time, it can be difficult by oneself to figure out what those problems are and how to correct all of them.
Good brazing starts with the selection of the right materials that are the most likely to give success. This includes the joint materials (joining a heavy bb to lighter tubing isn't a great place to start), filler rod and flux and the kind of equipment used. Next hand positions holding both the rod and torch need to be established. Then the hand motions can be choreographed. Rookies tend to make similar mistakes and understanding what those mistakes are and how to correct them can really speed up the learning curve. Only after those basics are established can some refinements be pointed out.
In your case mayan42 you need to keep the heat on your joint just beyond the melting temperature of brass. You control where the brass flows by adding and subtracting heat. There is an acceptable temperature window that you control with the motions of your flame. You got it way too hot probably because you didn't flick off your flame often enough (to control joint temperature) while adding the brass. If you want to be good, you'll need more instruction than what can be provided by internet advice.
Doug Fattic
NIles, Michigan
Paceline
Thanks Doug,
I understand your point about learning from an expert, but for various reasons, that really isnt possible for me right now. This is not intended to be a new career for me, just a bit of fun. So, in the absence of any expert tution, I'm gonna just have to practice on my own, learning what I can through my own mistakes, but any pointers would be appreciated.
You say I got the joint way too hot, which I can understand, and part of that was definitely from trying to get the thicher tube up to temperature, but how can you tell it got too hot? ie how do i know next time?
And are the pits or holes caused by contaminants ? not enough flux?
Rolls with style
Did you do the brazing in that fixture? If so, don't. Use it to tack, but see the heat sink discusssion- the massive cones (while better then a tube sink) will take a more effort to heat up.
If you see filler rushing to one tube and not the other, there is a heat imbalance that needs to be corrected. Remember that pulling the fire back doesn't take the heat off, turning the torch off the work does.
If there is a local community college or art metal program, see if you can hook up for some classes. You asked about how you know if the tube is too hot- part of this is just repetition of doing a bunch of joints and getting a feel for how your hands motions are influencing filler flow and outcome. Do 20 (arbitrary) samples, take notes, and vary your technique slightly between each. Practice, practice, practice. The specific questions, in a vacuum of experience, won't be very helpful at this point.
Paceline
Just tacked in the fixture, then held loosely in a clamp so I could turn and twist it by hand.
Yep, the thinner tube definitely attracted all the wet filler, I have some more tubing, so I'll do some even sized joints.
Thanks for the tips, I'll just get out there and practice practice practice.
Rolls with style
We've had a bit of discussion on fillet brazing lately. To help make life a little easier for the new folks looking for info, and to help the older guys from having to re-write info we have this clearing house for all things fillet brazing.
Tied and soldered
Well, keep practicing fella. You'll get it someday.
In the drops
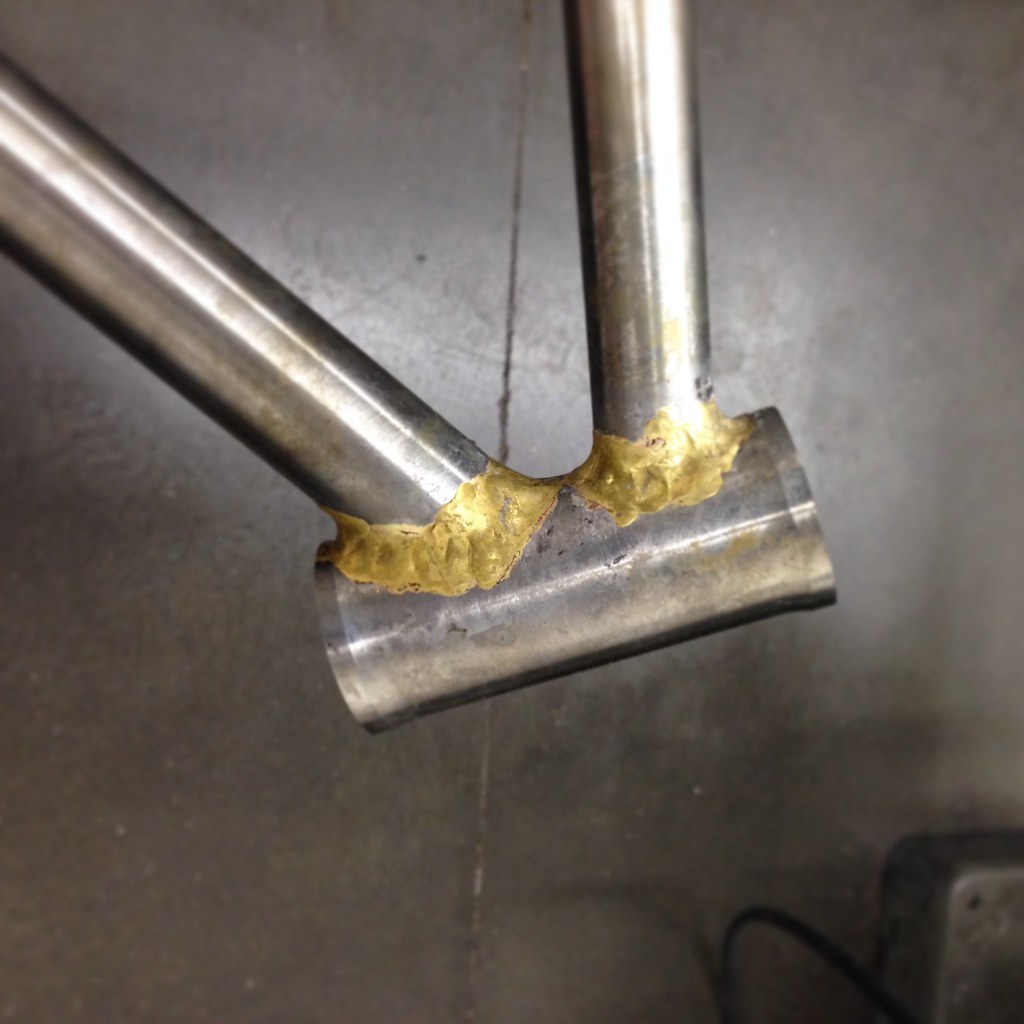
Here is my first shot at it
First Fillets by FARR Frameworks, on Flickr
I had the same problem as Shirk, my Cycle Design Flux turned black the second the flame touched it. My tubes were super clean. They were ultrasonic cleaned in a detergent then acetone wiped. It stayed black around the whole joint. Did you ever figure out a way to limit this a bit?
What flux and rod do you use Garro?
Grimpeur
If you email Wade he'll explain the black to you. It's the newer LFB flux formula. The older version didn't do it, but I like the consistancy of the newer stuff better. Performance wise it works just fine.
In the drops
Posting Permissions

 Reply With Quote


Bookmarks