
Originally Posted by
afwalker

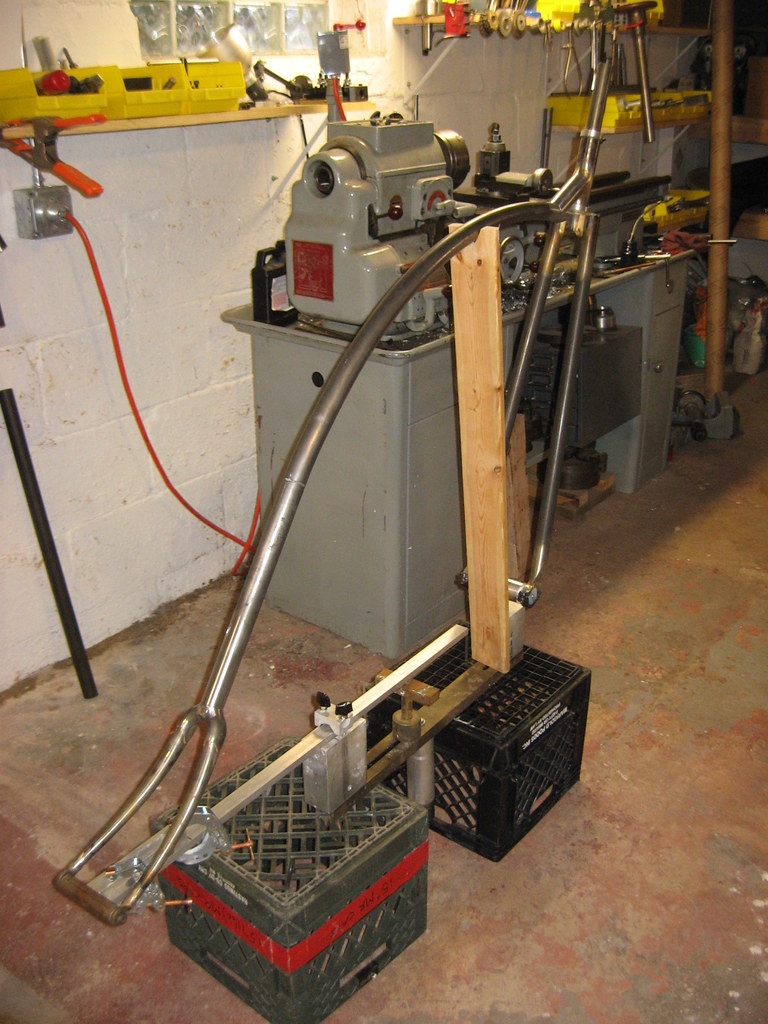
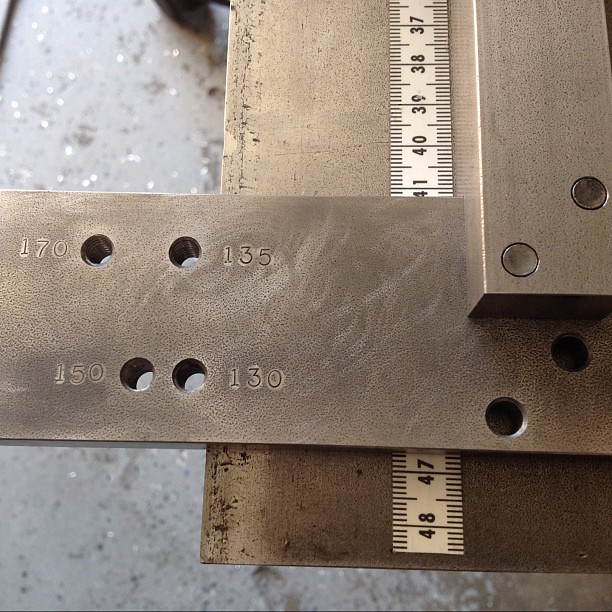
I just starting working something to help my J3 jig align and keep parallel the chain and seat stays for fat tire bikes,
Now that I saw Joel's elegant solution, I think maybe that's something to consider.
I am having trouble getting perfect alignment with the stays, so that there is maximum clearance for the crank and the tire, if's it's off a little bit it shows.
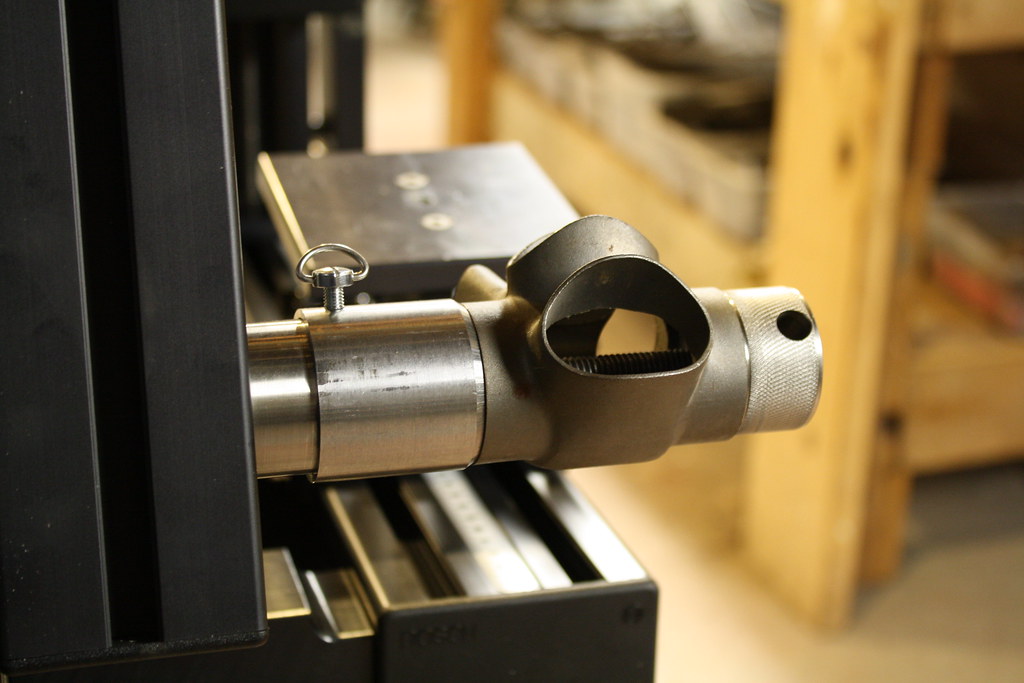
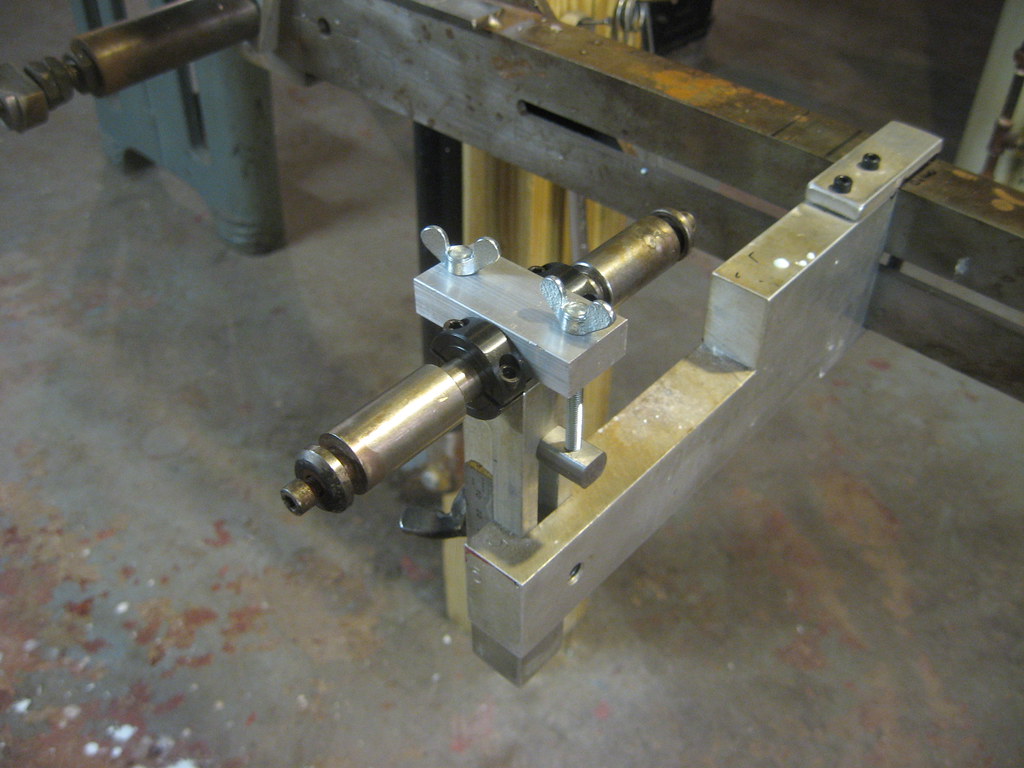
welded a bar and threaded rod, big washer centers it to BB bolt, I thought I'd put nuts and a washer at the center line of the seat tube and measure each side.
Comments, suggestions?
cheers
andy walker


 Likes:


 Reply With Quote


Bookmarks