

 Likes:


I’ve huffed enough Mastik over the past few days to kill the other 90% of my brain that we humans thankfully don’t use. I figured I’d pass along how I set things up and my process. I don’t want to debate the tape method or any of techniques as being lazy or not. The methods and materials presented here have never let me down. I go by one maxim, and that is “I’d rather have my fingers bleed trying to get the tubular off the rim after a flat than have a tire roll out on the course”. Now please note. If I only had a set of wheels to do, I’d probably do a few things differently. Doing 12 wheels at one time is different than doing 2. It’s time consuming, so anything that can save me some minutes and aggravation is a bonus.
The information presented below is for entertainment purposes only. The techniques are based loosely on the techniques in the tech articles at cyclocrossworld.com linked below.
http://www.cyclocrossworld.com/Tech....ShowDisabled=0
http://www.cyclocrossworld.com/Tech....ShowDisabled=0
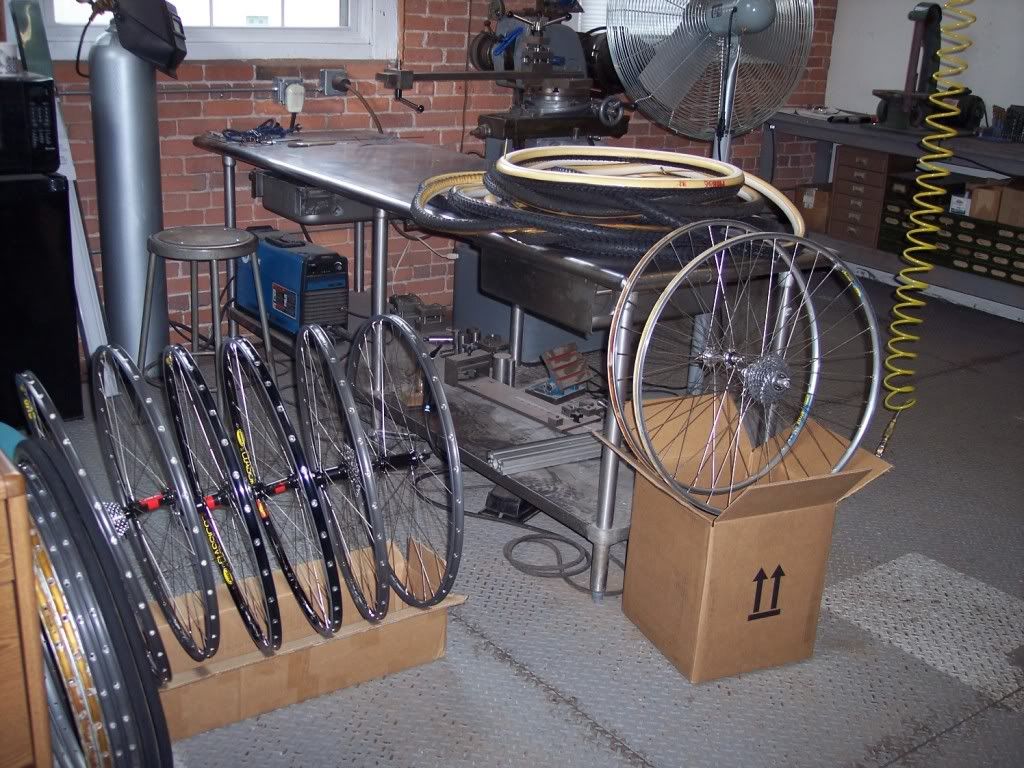
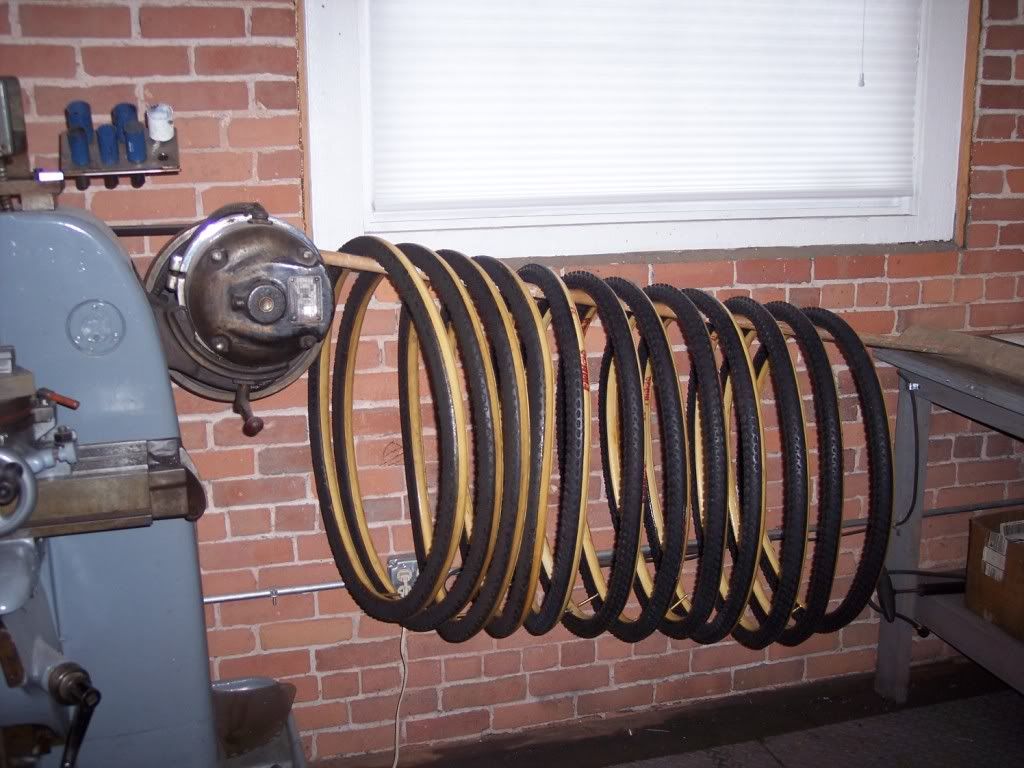
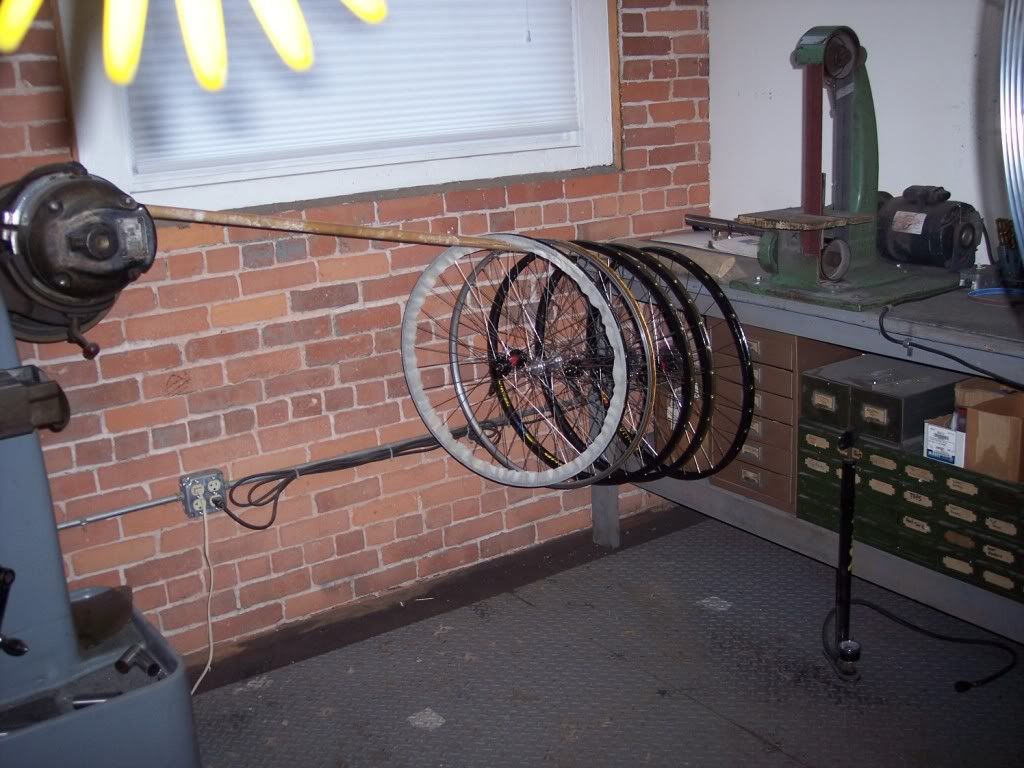
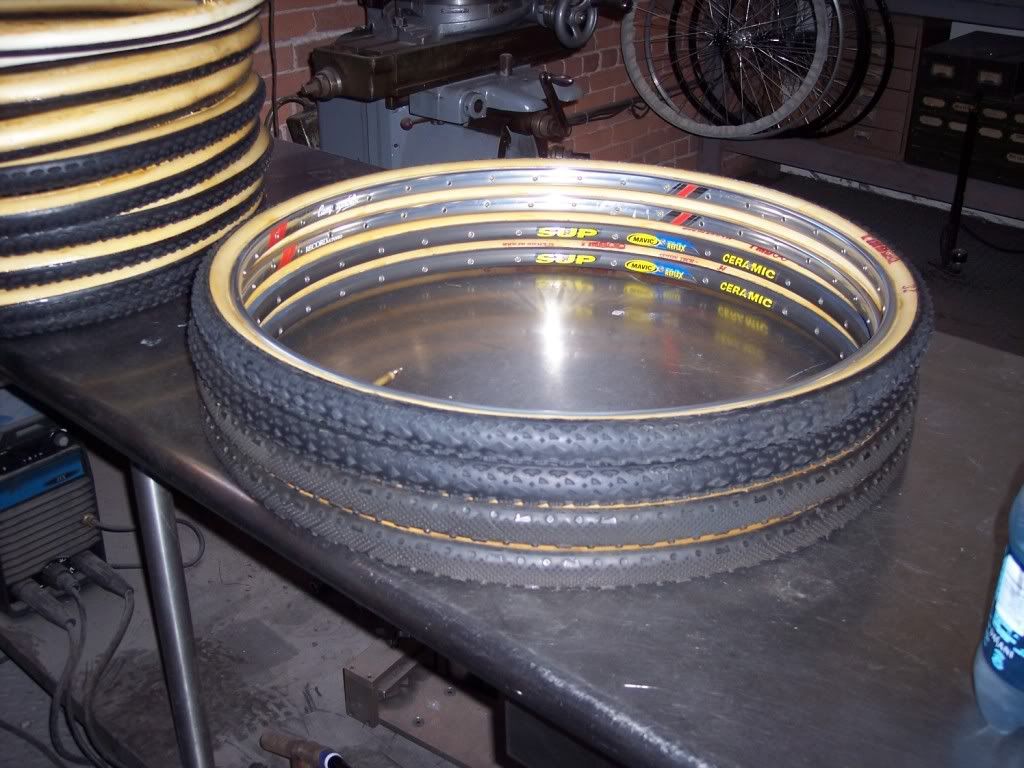
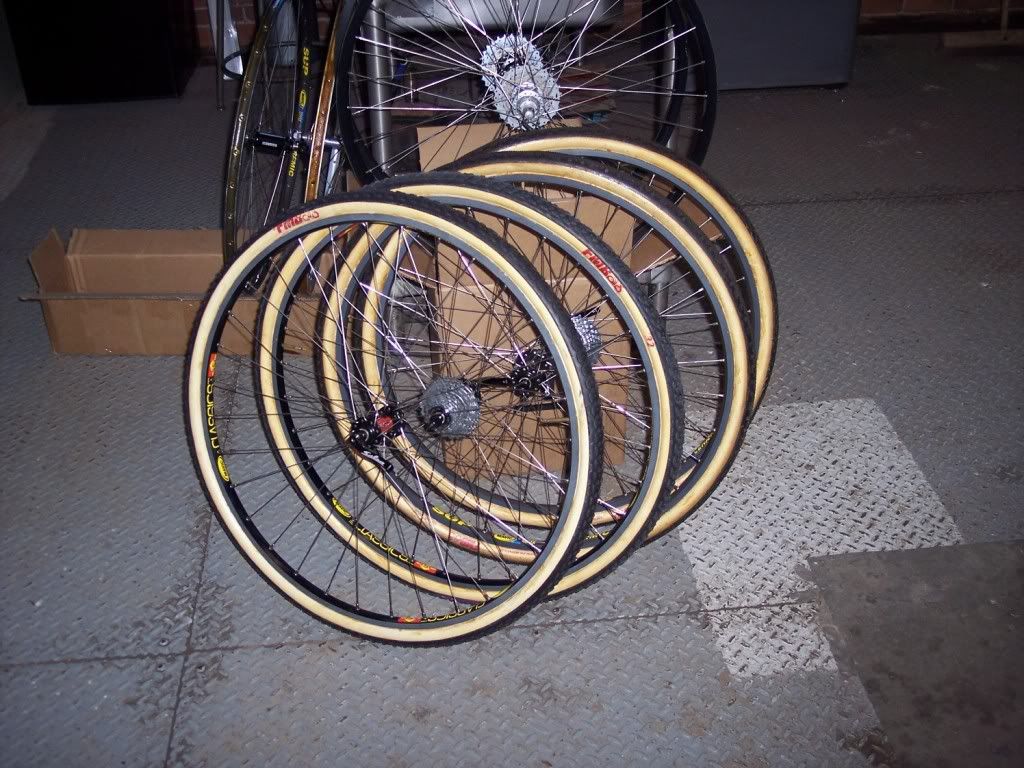
So let’s get started. The first thing I make sure of is that all of my materials are accounted for. Basically, I start off with a pile of tires and some wheels. These frame tube boxes are great for holding wheels.
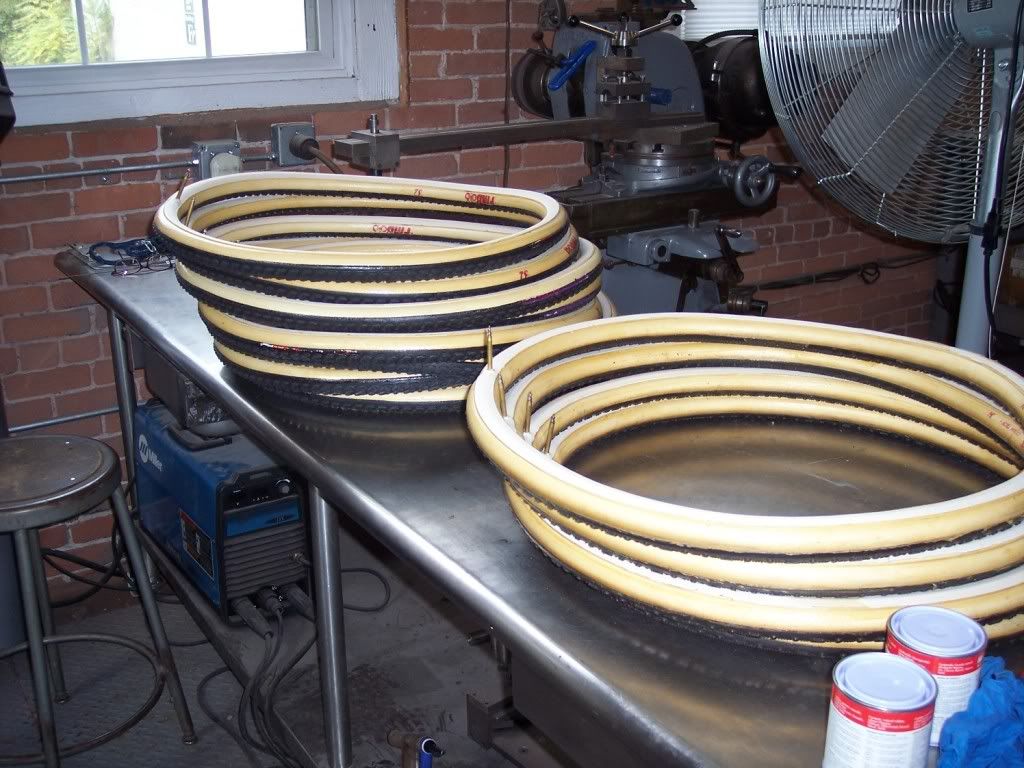
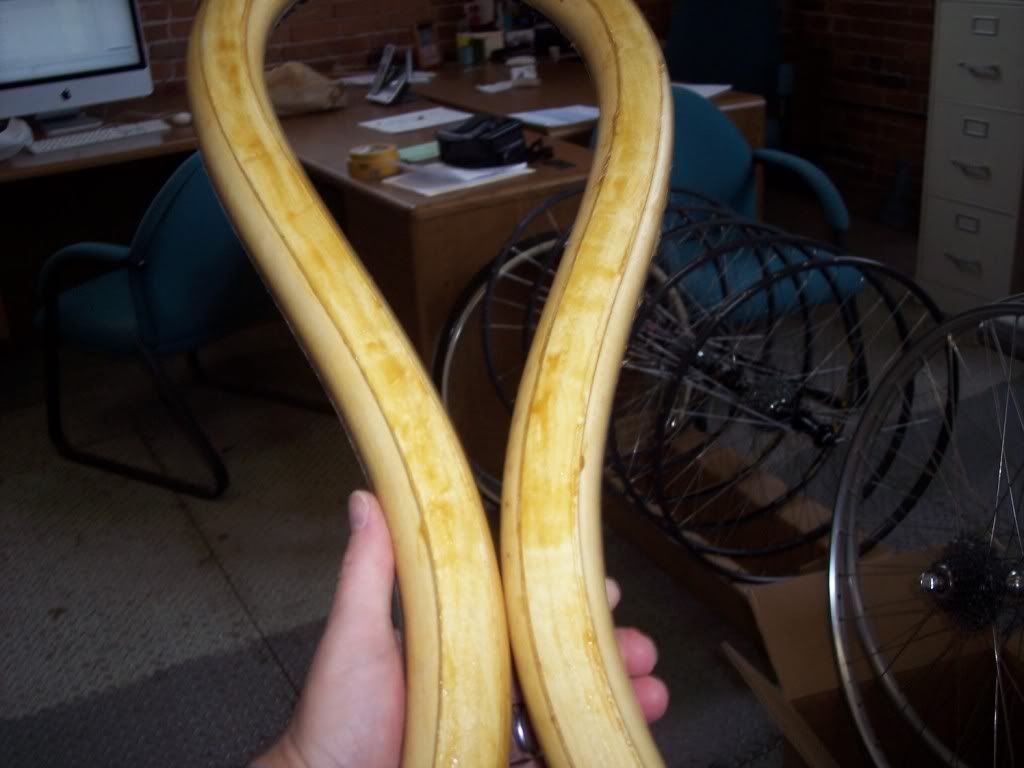
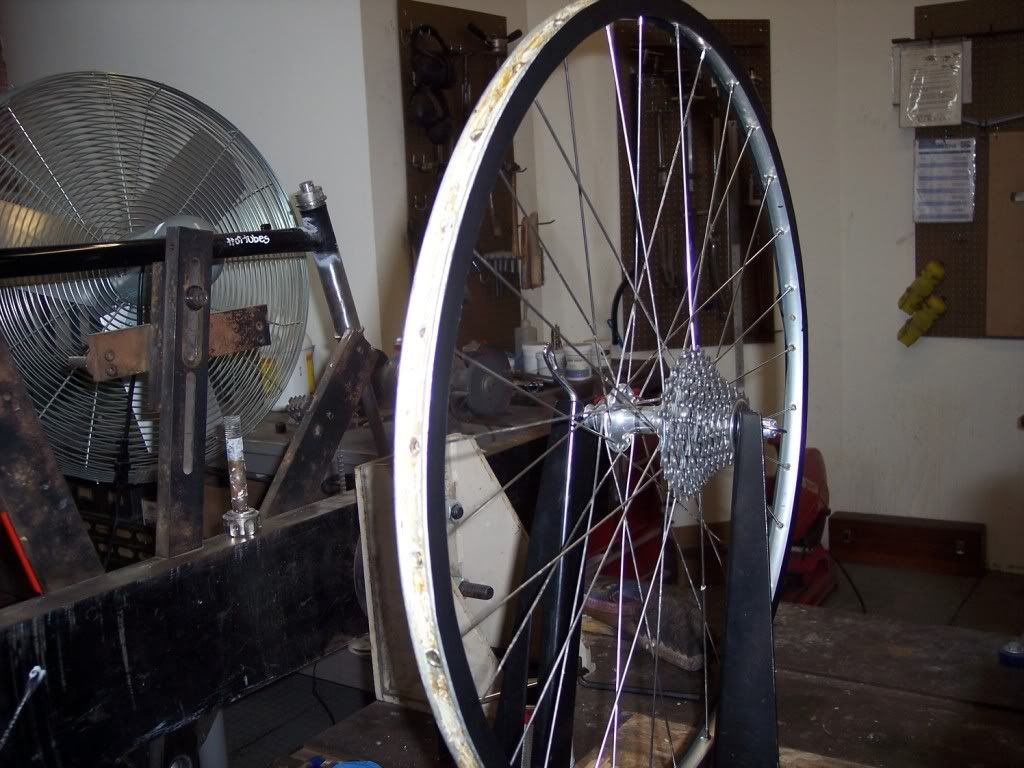
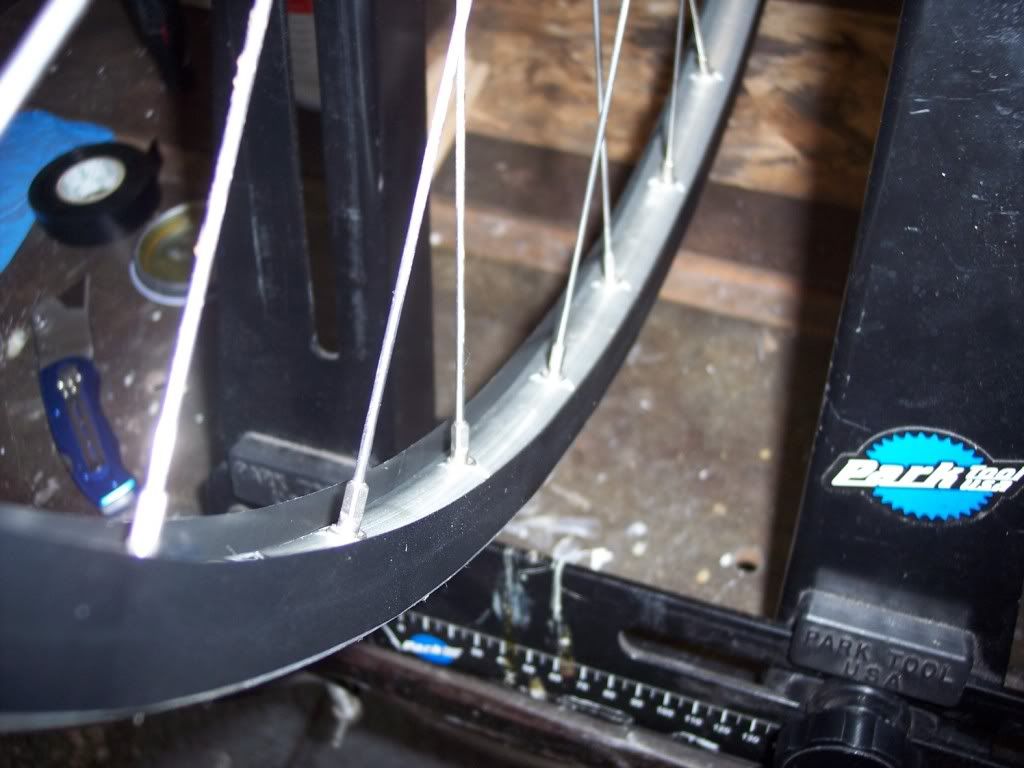
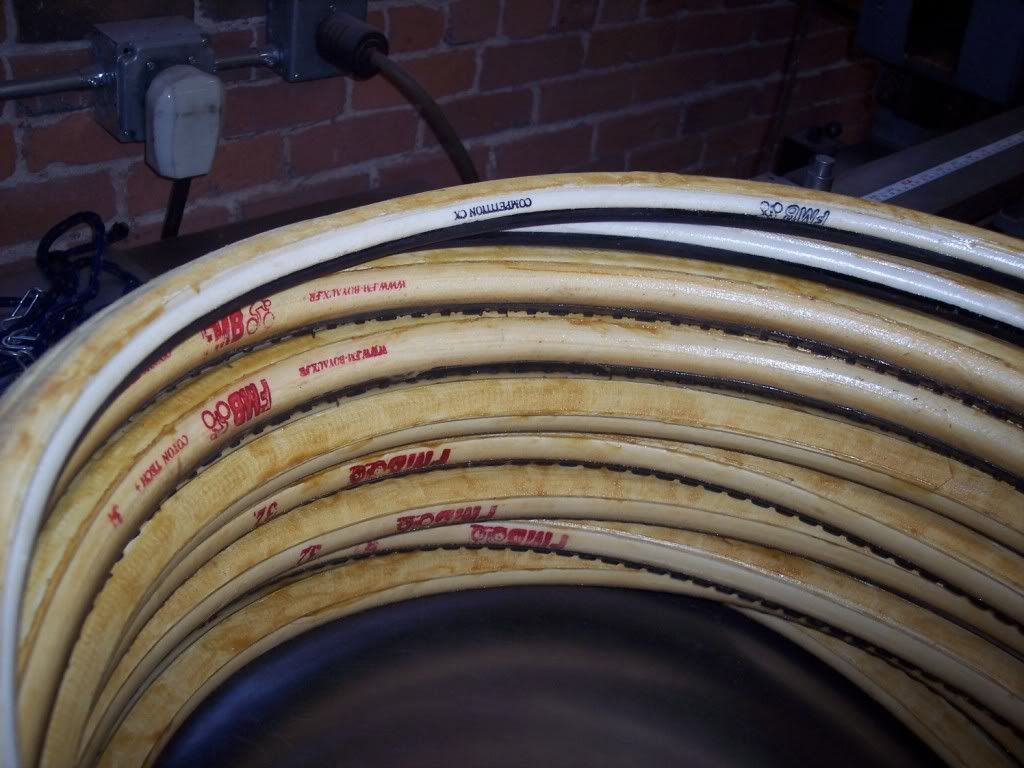
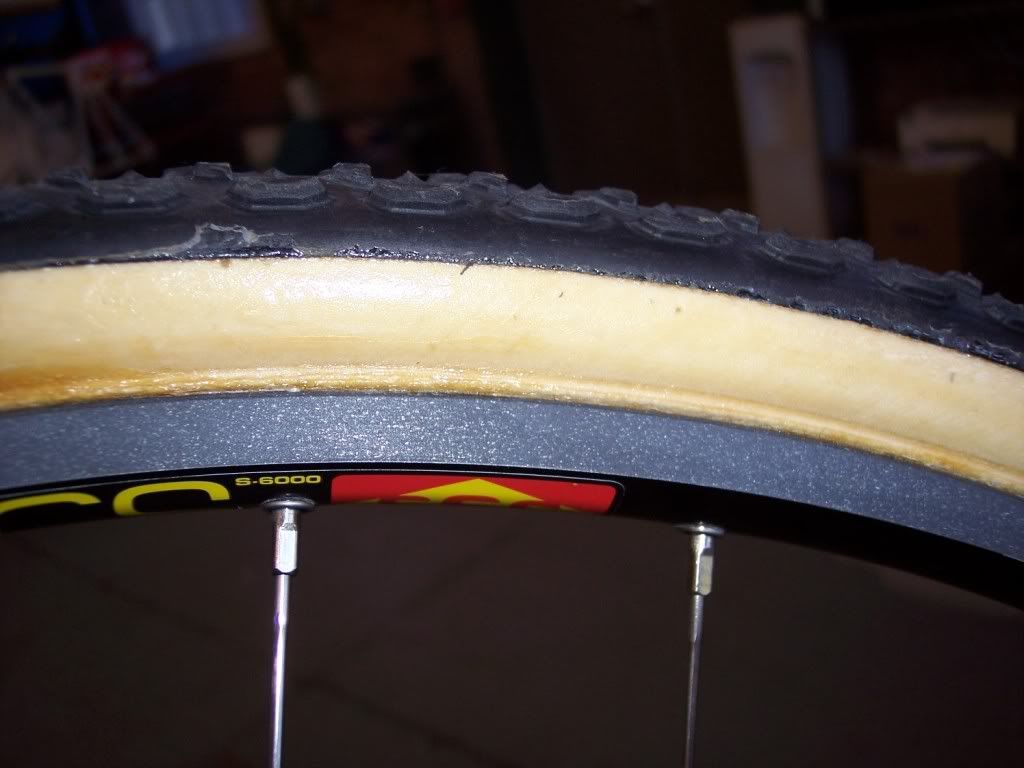
The tubulars have already been pre-stretched. I put each new tubular on a clean rim and pump them up to about 60 psi for cross tubulars and 100 psi for road tubulars. It’s important to clean your stretching rims before putting a tubular on it. You don’t want any oil, solvent or other contaminants on the tubular’s base tape. I use acetone.
The tubulars below have been blown up just enough to get the base tape to turn out as shown.
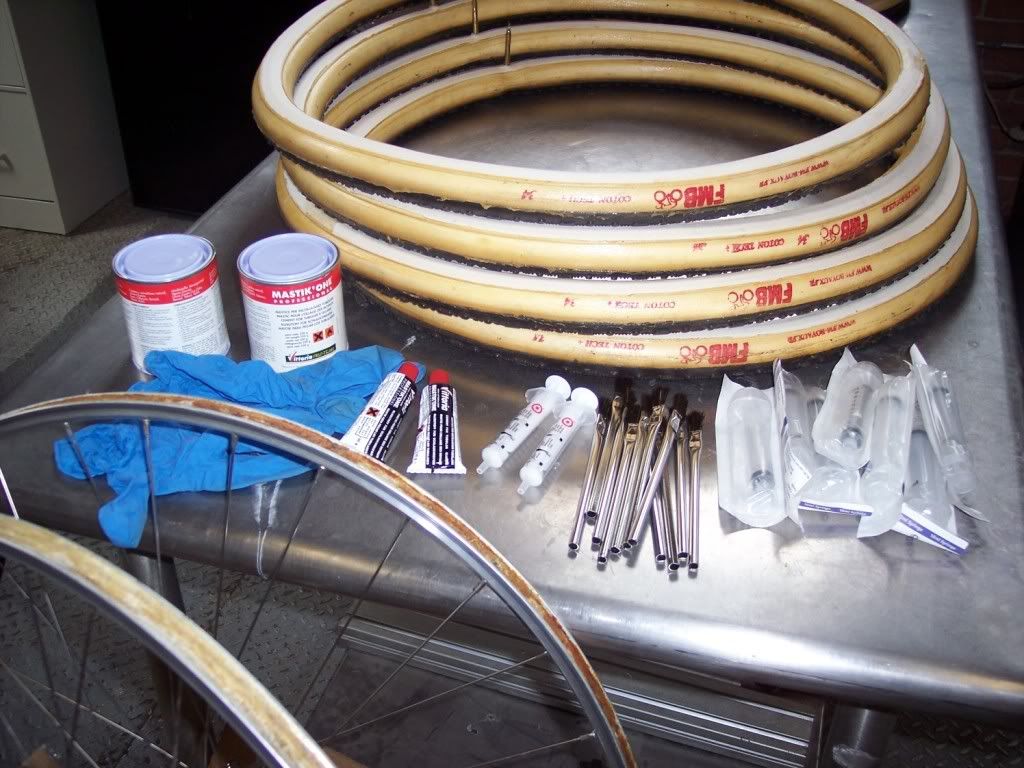
The other materials are pictured below. I’ve got a couple of cans of Mastik One, a couple of spare tubes of Mastik One that I wanted to use up, some nitrile gloves, acid brushes (I buy them by the box of 100 for spreading flux on brazed joints, but you can get a bag of 12 at your local hardware store), and syringes for dispensing the glue. Not pictured is the Belgian tubular tape, a can of acetone, electrical tape, and coffee. The tubular tape can be purchased at cyclocrossworld.com. If you plan on doing a lot of tubulars, email Stu and ask him for the big roll, which is enough for 10-12 tubulars.
http://cyclocrossworld.stores.yahoo....bulartape.html
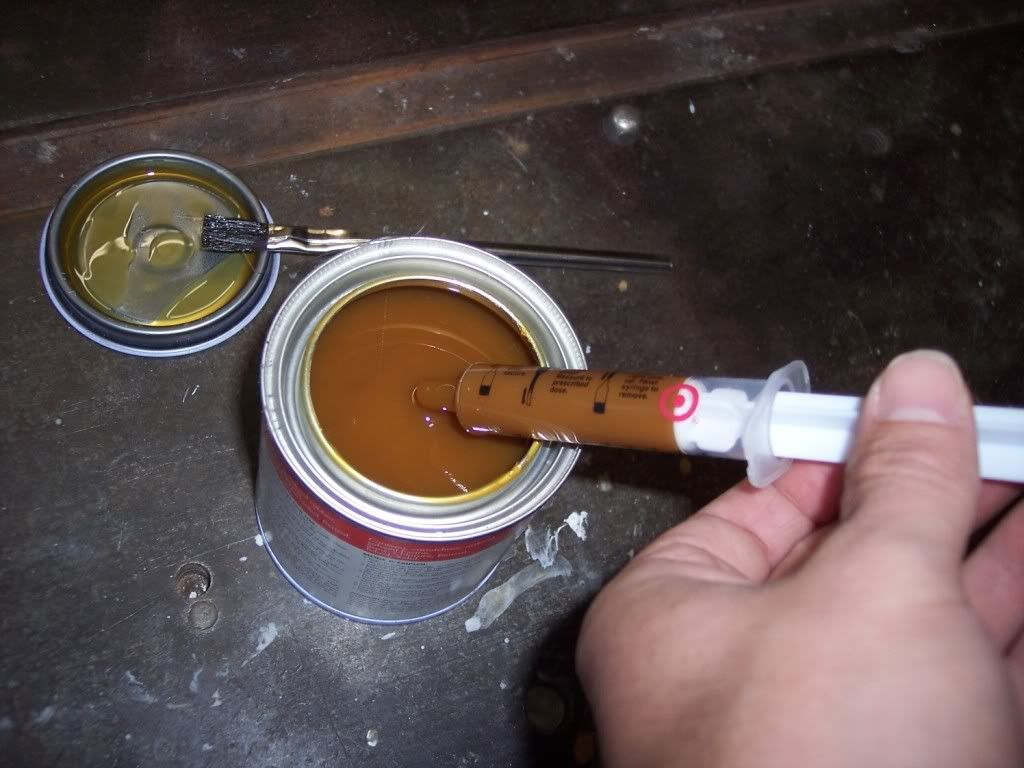
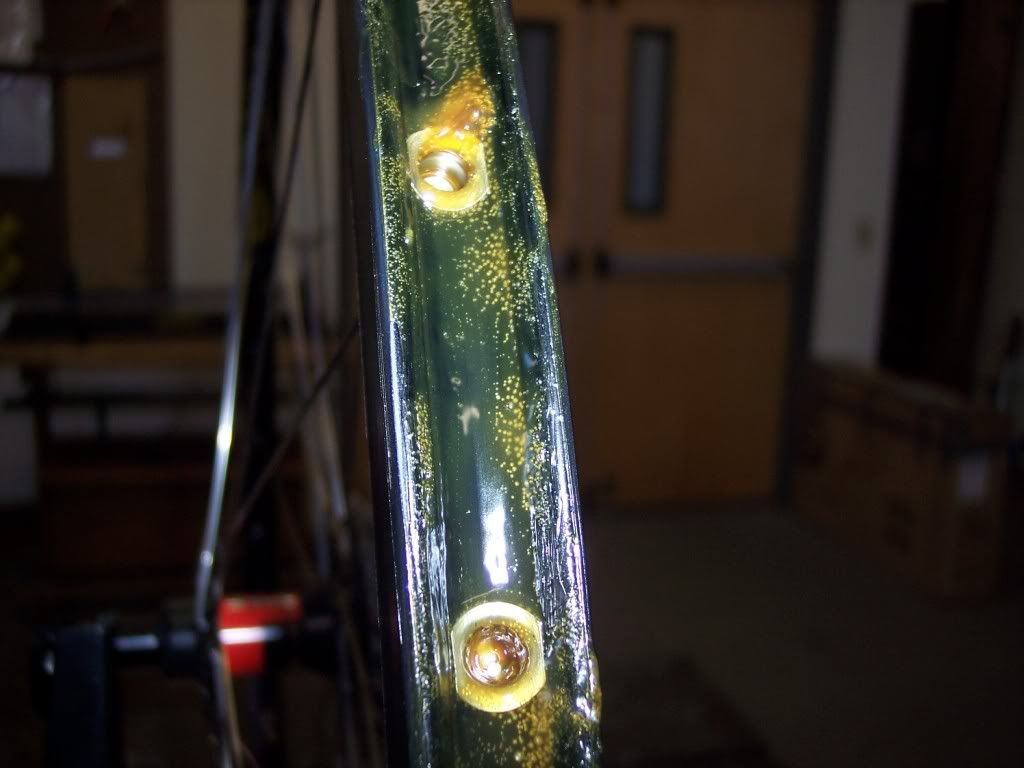
So, why the syringe? This photo should help you understand. They totally rock for working with cans of glue. I know some pro mechanics just dump the can into a water bottle and then go hog wild. I find this tool ends up with less waste. Glue ain’t cheap. These syringes are 10mL. A 30mL would be better, but these were all the pharmacist at Target had at the time.

 Reply With Quote
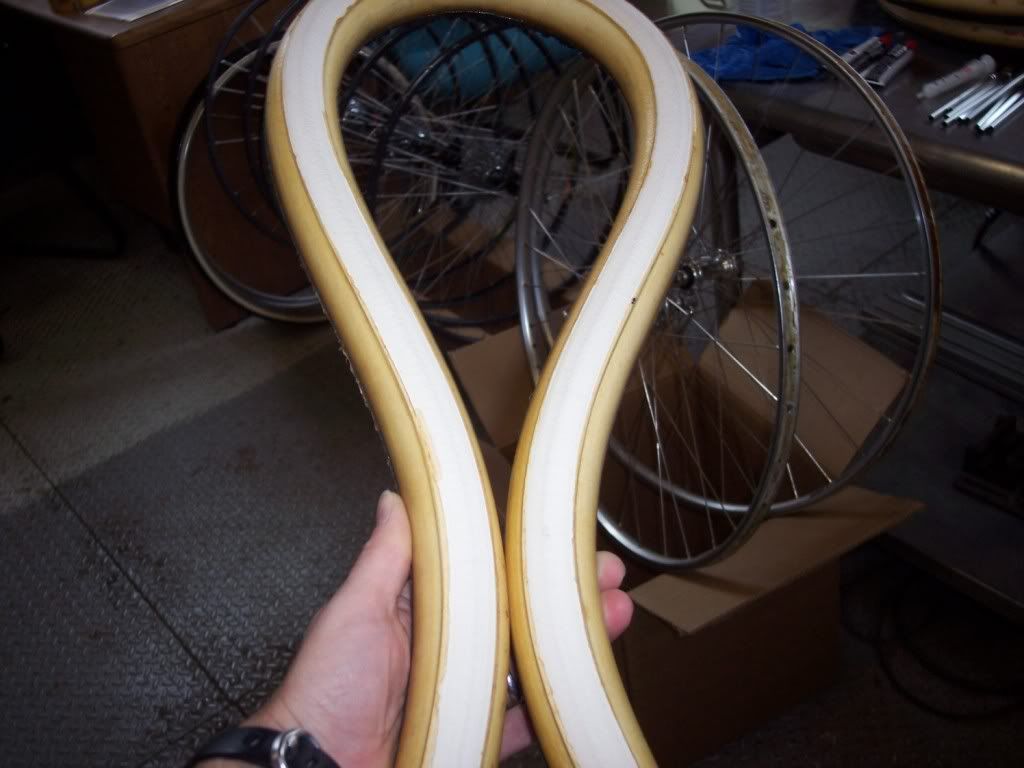


Bookmarks